Auto-Sync CAN Bus Data to FTP/Cloud via WiFi & Cellular

Need to auto-push your CAN data to your own FTP server via WiFi?
In this intro, we detail how the CL3000 'FTP push mode' works - and how to set it up.
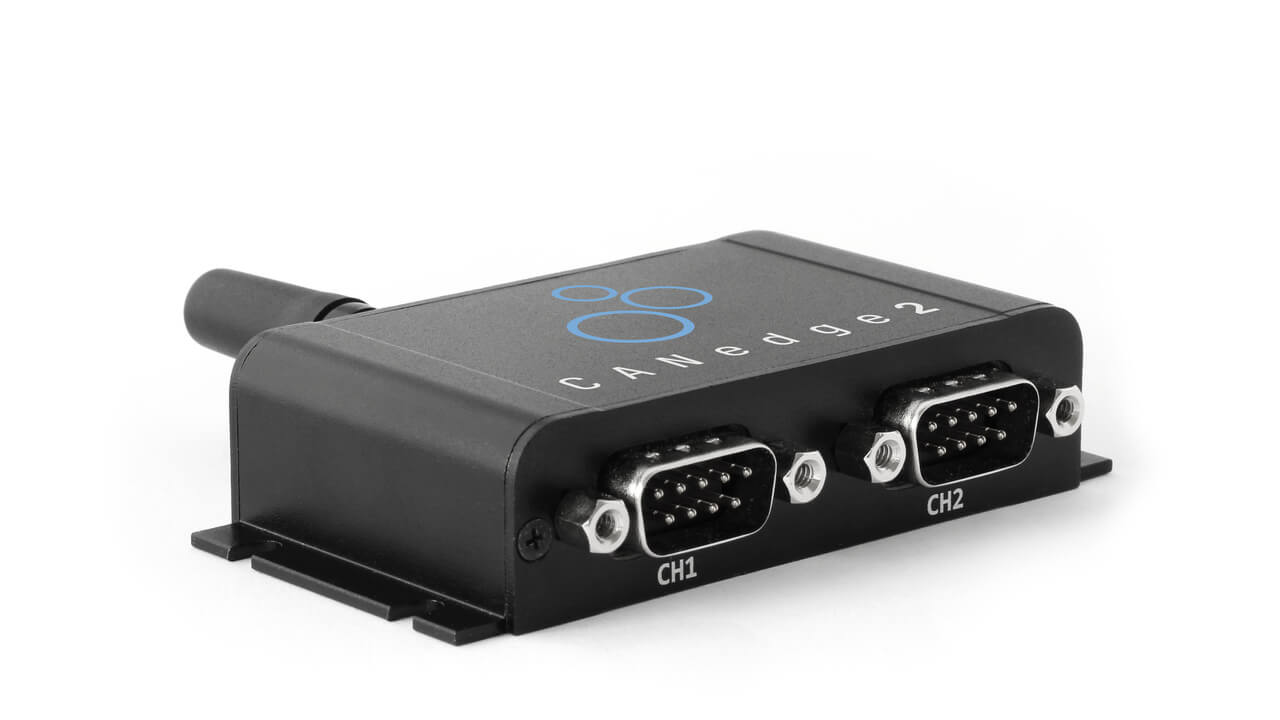
Note: We are migrating from the CL3000 - please see our 2nd generation, the CANedge2. The CANedge2 offers superior functionality with powerful software like telematics dashboards, a Python API and telematics platforms.
What is the FTP Push mode?
The CL3000 wireless CAN analyzer is a low cost CAN logger with SD card. It records data from any high speed CAN bus application and the data can be collected via WiFi.
The CL3000 supports 3 WiFi modes: Access point, Station and FTP Push. For details on each mode see our CL3000 intro.
The Push mode is particularly useful if you have several CL3000 units in the field as log file data can be automatically uploaded to your server - with zero manual interaction. This makes it ideal for e.g. fleet management, vehicle telematics, predictive maintenance and similar use cases.

Below we list in detail what happens when the CL3000 is in Push mode:
- You connect the CL3000 to the CAN bus of e.g. a vehicle and it starts logging data to the SD card
- When a specified WiFi hotspot is in range (e.g. a USB 4G hotspot), the CL3000 automatically starts uploading log files
- The CL3000 connects to your server (via FTP), uploads a file and then deletes it on the SD card
- This continues as long as there's a WiFi connection and log files on the SD card (the CL3000 logs data simultaneously)
- You control the log file size (down to 1MB), meaning transfer can happen e.g. every minute with stable connections
- On your server, a script can process the files or you can manually download them for ad hoc conversion via e.g. CANvas
- The setup scales easily: Each log file name include the logger ID and you can e.g. specify unique target folders for each device
No manual interaction is required - meaning that you can automatically create e.g. output databases for various use cases.
How to configure the CL3000 push mode
Setting up the CL3000 Push mode involves below steps:
- Connect your CL3000 via USB to your PC
- Open CANvas and go to 'CONFIGURE LOGGER'.
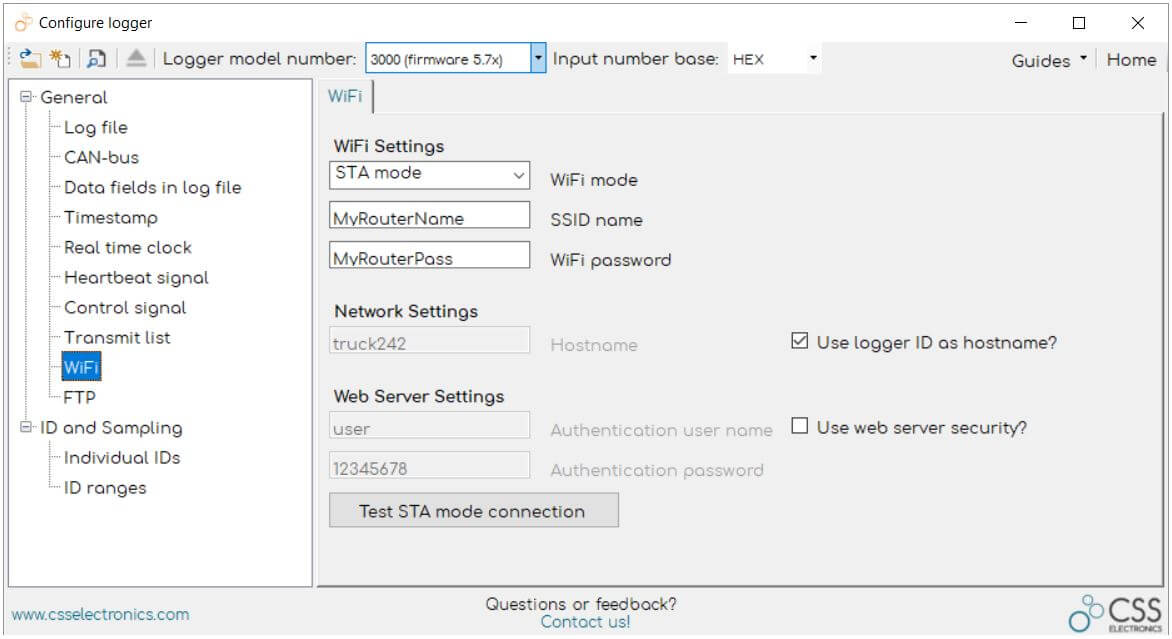
- In the WiFi tab, choose Station Mode and add your WiFi's SSID & password
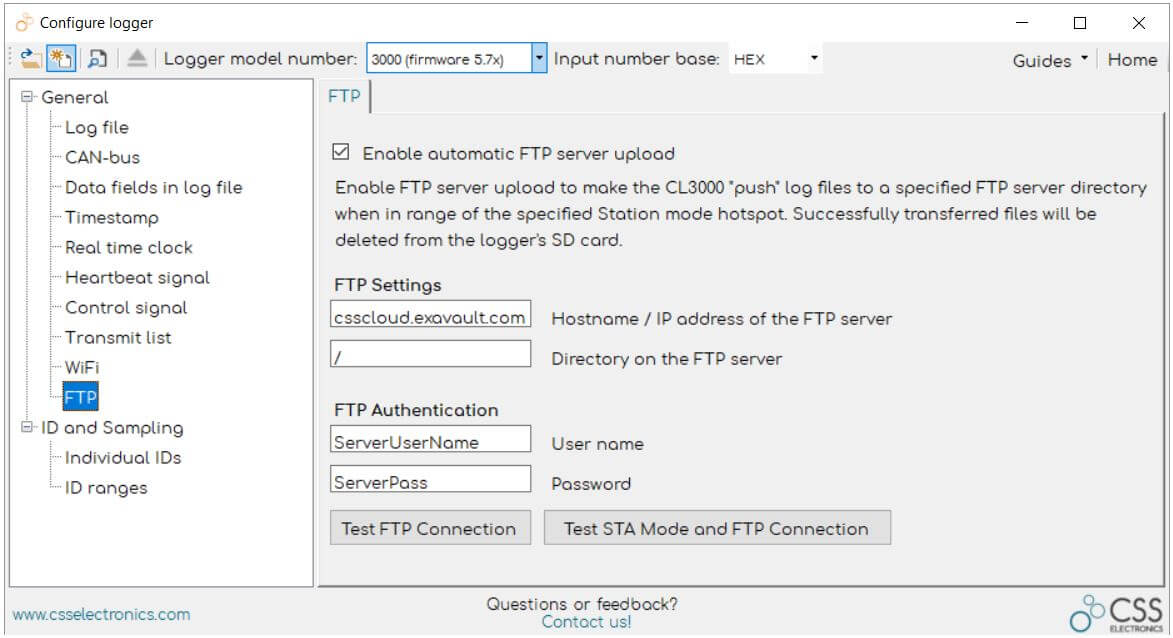
- In the FTP tab, add your server's URL/IP, target folder, user & password
- Use the CANvas test button to verify your hotspot and server connections
- Test Server: You can create a free account at e.g. Exavault for testing purposes
- Server URL/IP: This could e.g. be 'csscloud.exavault.com'
- Directory: You can e.g. set up a folder for each logger - or use the default root '/'
- User Rights: Ensure that the user has Create/Edit/Delete rights on the FTP/cloud server
- Firewall: Ensure that your server firewall allows FTP transfer (e.g. on PC FTP servers, open Port 21)
- Multiple Connections: Ensure that your server allows for multiple connections - otherwise some CL3000s may be rejected
- Multiple Users: It is recommended to add a unique user/pass for each CL3000
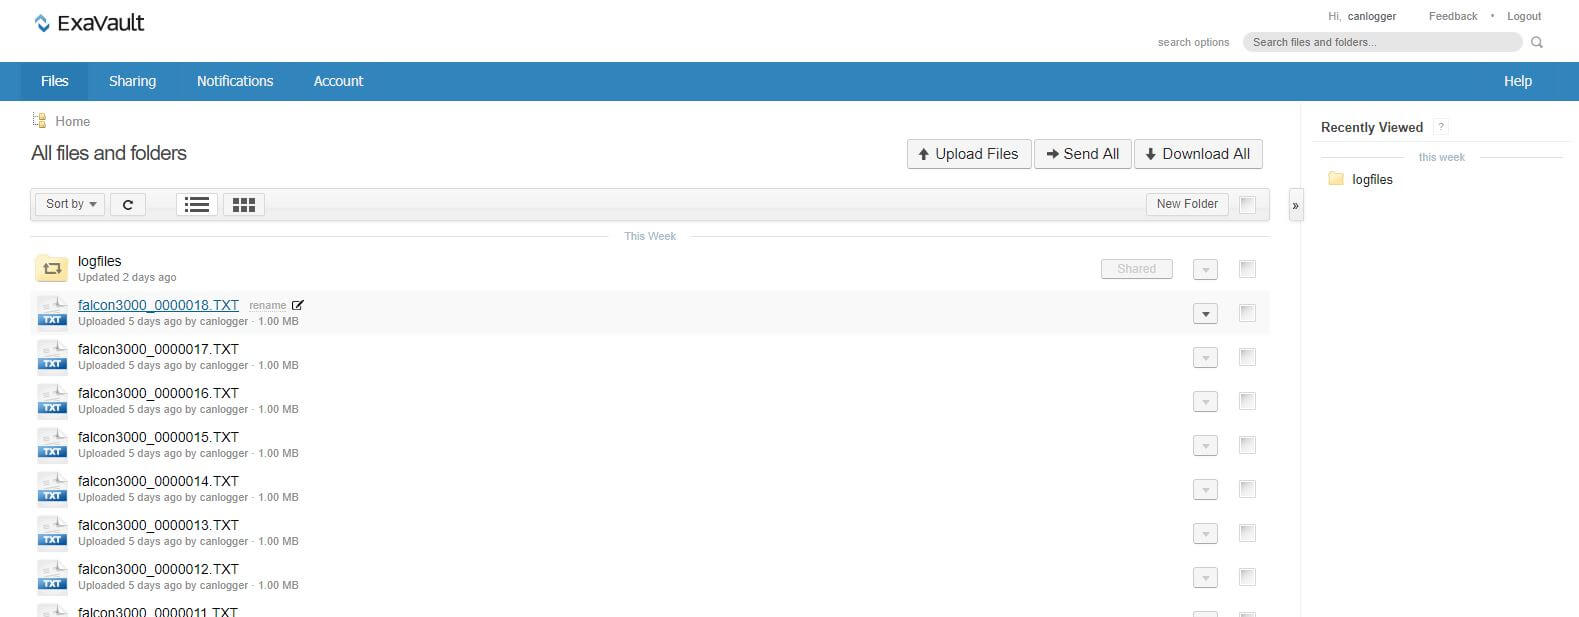
Below is an example of an FTP server on ExaVault where a number of 1 MB CAN bus log files have been uploaded.
Ready to collect your CAN data via WiFi?
Get your CL3000 today!