Docs
This section contains documentation for the CANedge, CANsub, CANmod and CLX000 - and the software/API tools.
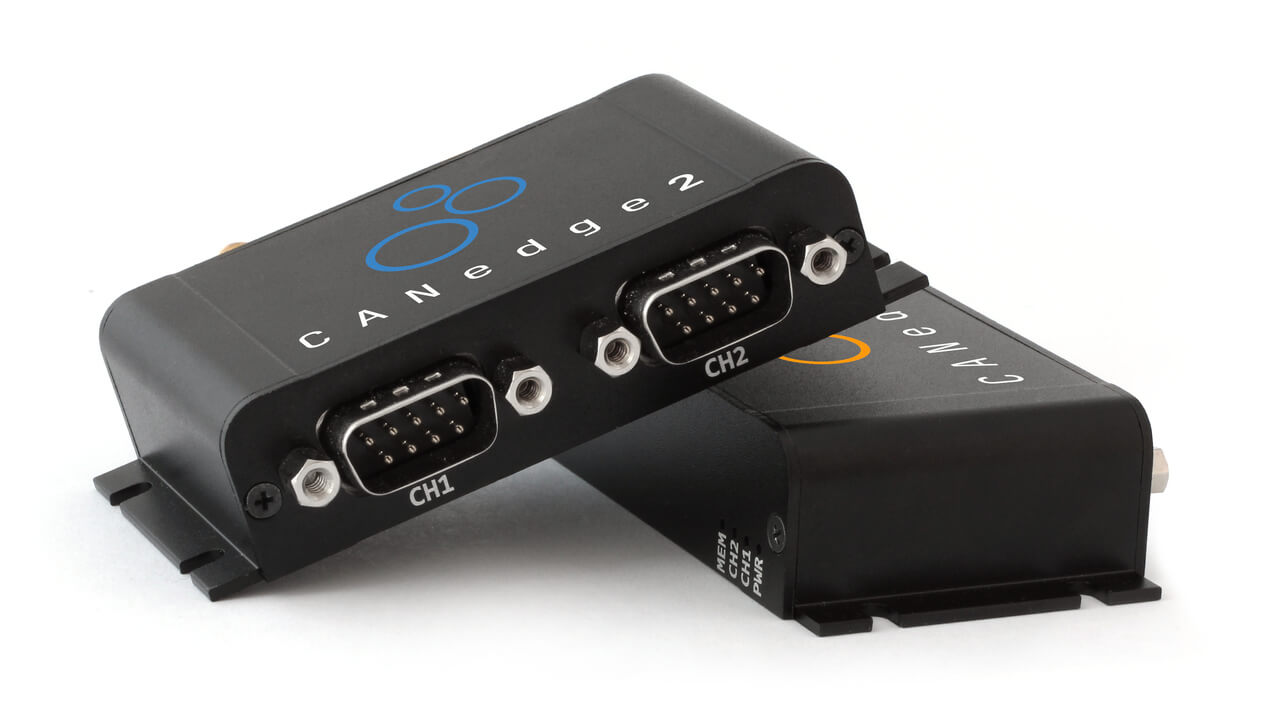
CANedge
FIRMWARE UPDATE
Update your device firmware
CANedge1CANedge1 GNSS
CANedge2
CANedge2 GNSS
CANedge3 GNSS
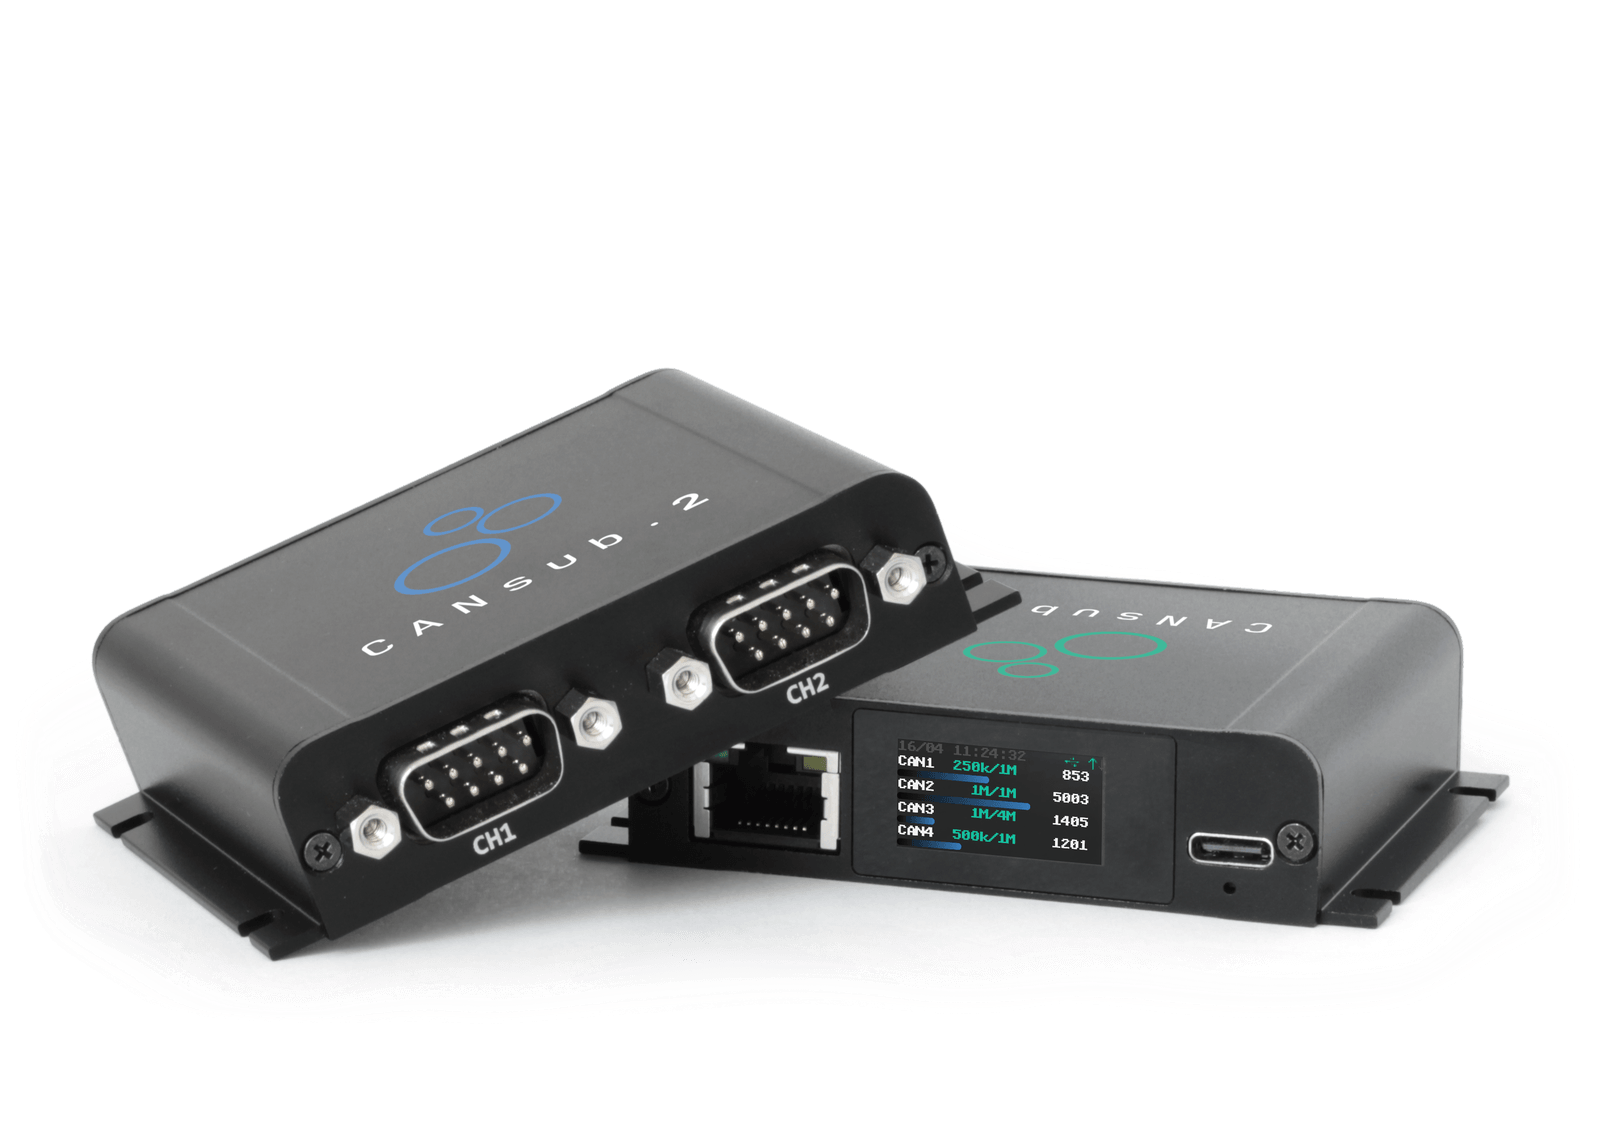
CANsub
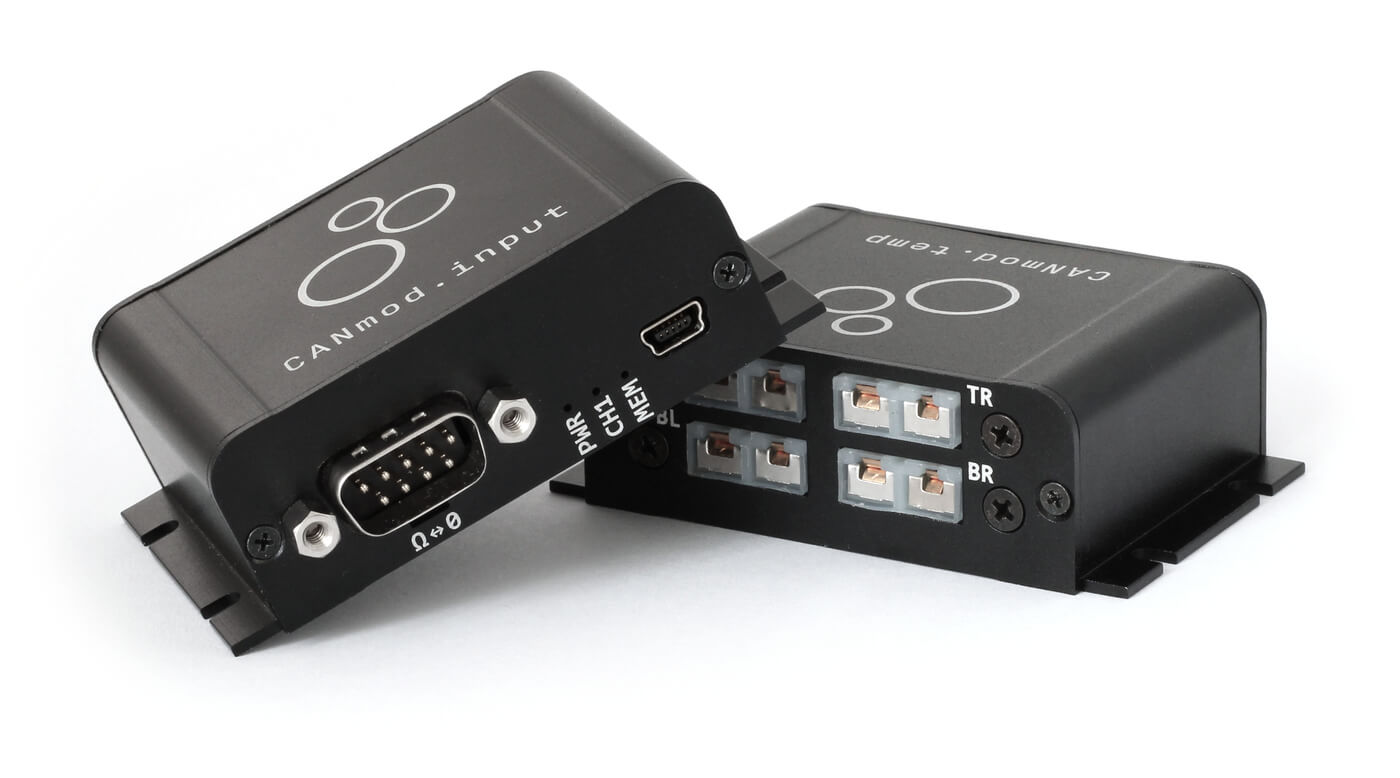
CANmod
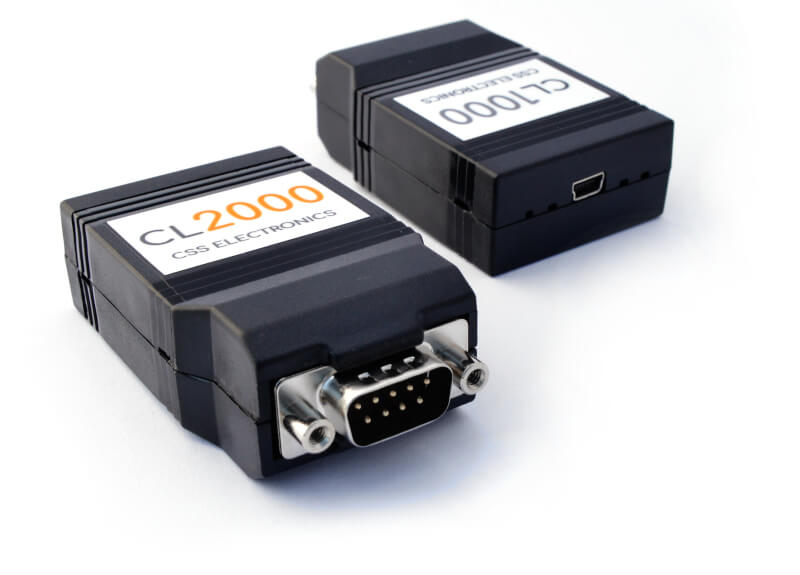
CLX000